Before you get started on this week’s topic remember that practicing what you’ve learned with your baby or toddler is likely going to result in a lot of frustration for both of you! I would encourage you to use a doll or ask an older child or family member to help you out as you experiment with the light in the different areas of your home.
The lessons apply to using both your phone and your camera! Be on the look out for:
- Mixed light on peoples’ faces (indirect and direct light). Try to move them into one source of light
- What the colours look like in the different types of light and at different times of day. You’ll notice that your photos in the same spot look completely different in the morning than they do in the afternoon.
- Make sure that the light is coming from the side or top of your subject’s face and not the bottom. For example, if your baby is laying on the floor, make sure the window is beside them or above them and that their feet aren’t pointing toward the window.
First up: Indirect light
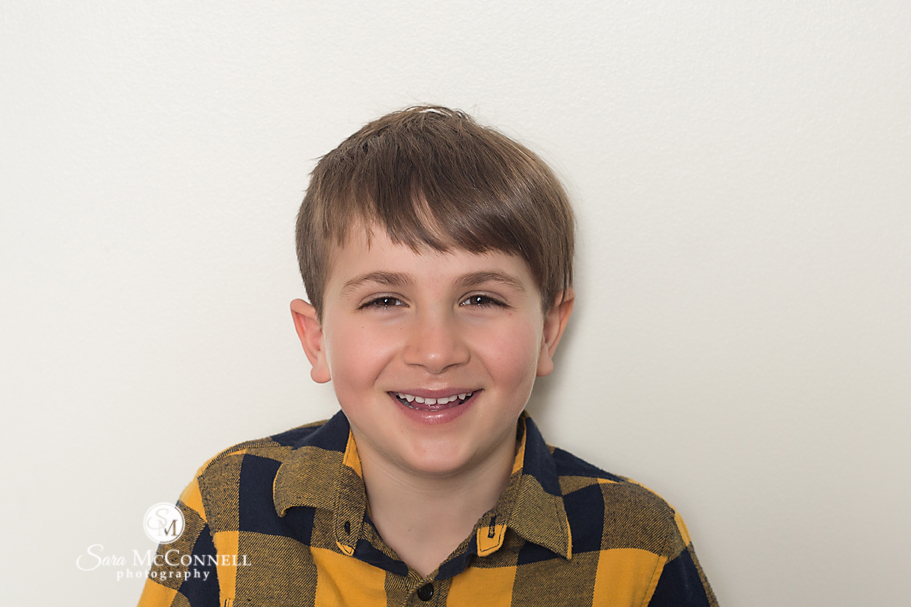
Example of a photo in indirect light:

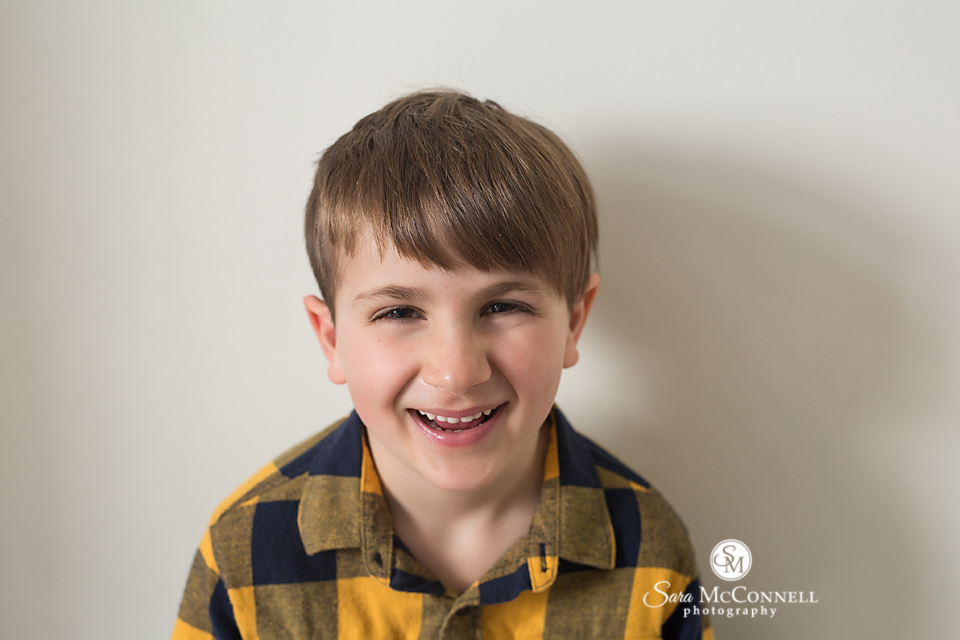
Example of photo in direct light:

When you’re looking for the light in your home, it’s also important to keep in mind the direction of the light. Is the light coming from the front (behind you, shining onto the face of your subject):
Or is the light coming from the side (from a window beside you and your subject, shining on a portion of your subjects face):
As you can see from these two examples, the direction the light comes from has a big impact on the look and feel of the photo. There isn’t a ‘right’ or ‘wrong’ light, rather it comes down to personal preference and what you prefer the look of.